Register Guide
This is a step-by-step guide to help you set up the Epoptia MES free trial

Technical Support
Last Update il y a 2 ans
In case you haven't made an account , start your 15day Free Trial now.

Enter your details & press Submit

Verify your email & Refresh the page.

Select one of the preset databases that matches the closest to your business so you can get a good understanding of how the Epoptia software will work in your production or you can choose the empty option and experiment with the various features.

The software manages Workorders & Workorderlines (or for short WO & WOL), which for you could be sales orders, production orders, manufacturing orders, etc. corresponding to your lines.
It also replaces the paper worksheets, or Excel sheets you might have been using up until this point.
Setting up your first Workorder
Create workstations.
In order to create Workstations navigate to the top right of your screen where you will find the Settings Menu and select Workstations.
Next locate on your top right the + button and create a workstation
Create Workflows
In the Settings menu(top right) select workflows.
Press the + button and create a workflow.
We understand that your production line might be a lot more complicated.
We will revisit this subject later more in depth.
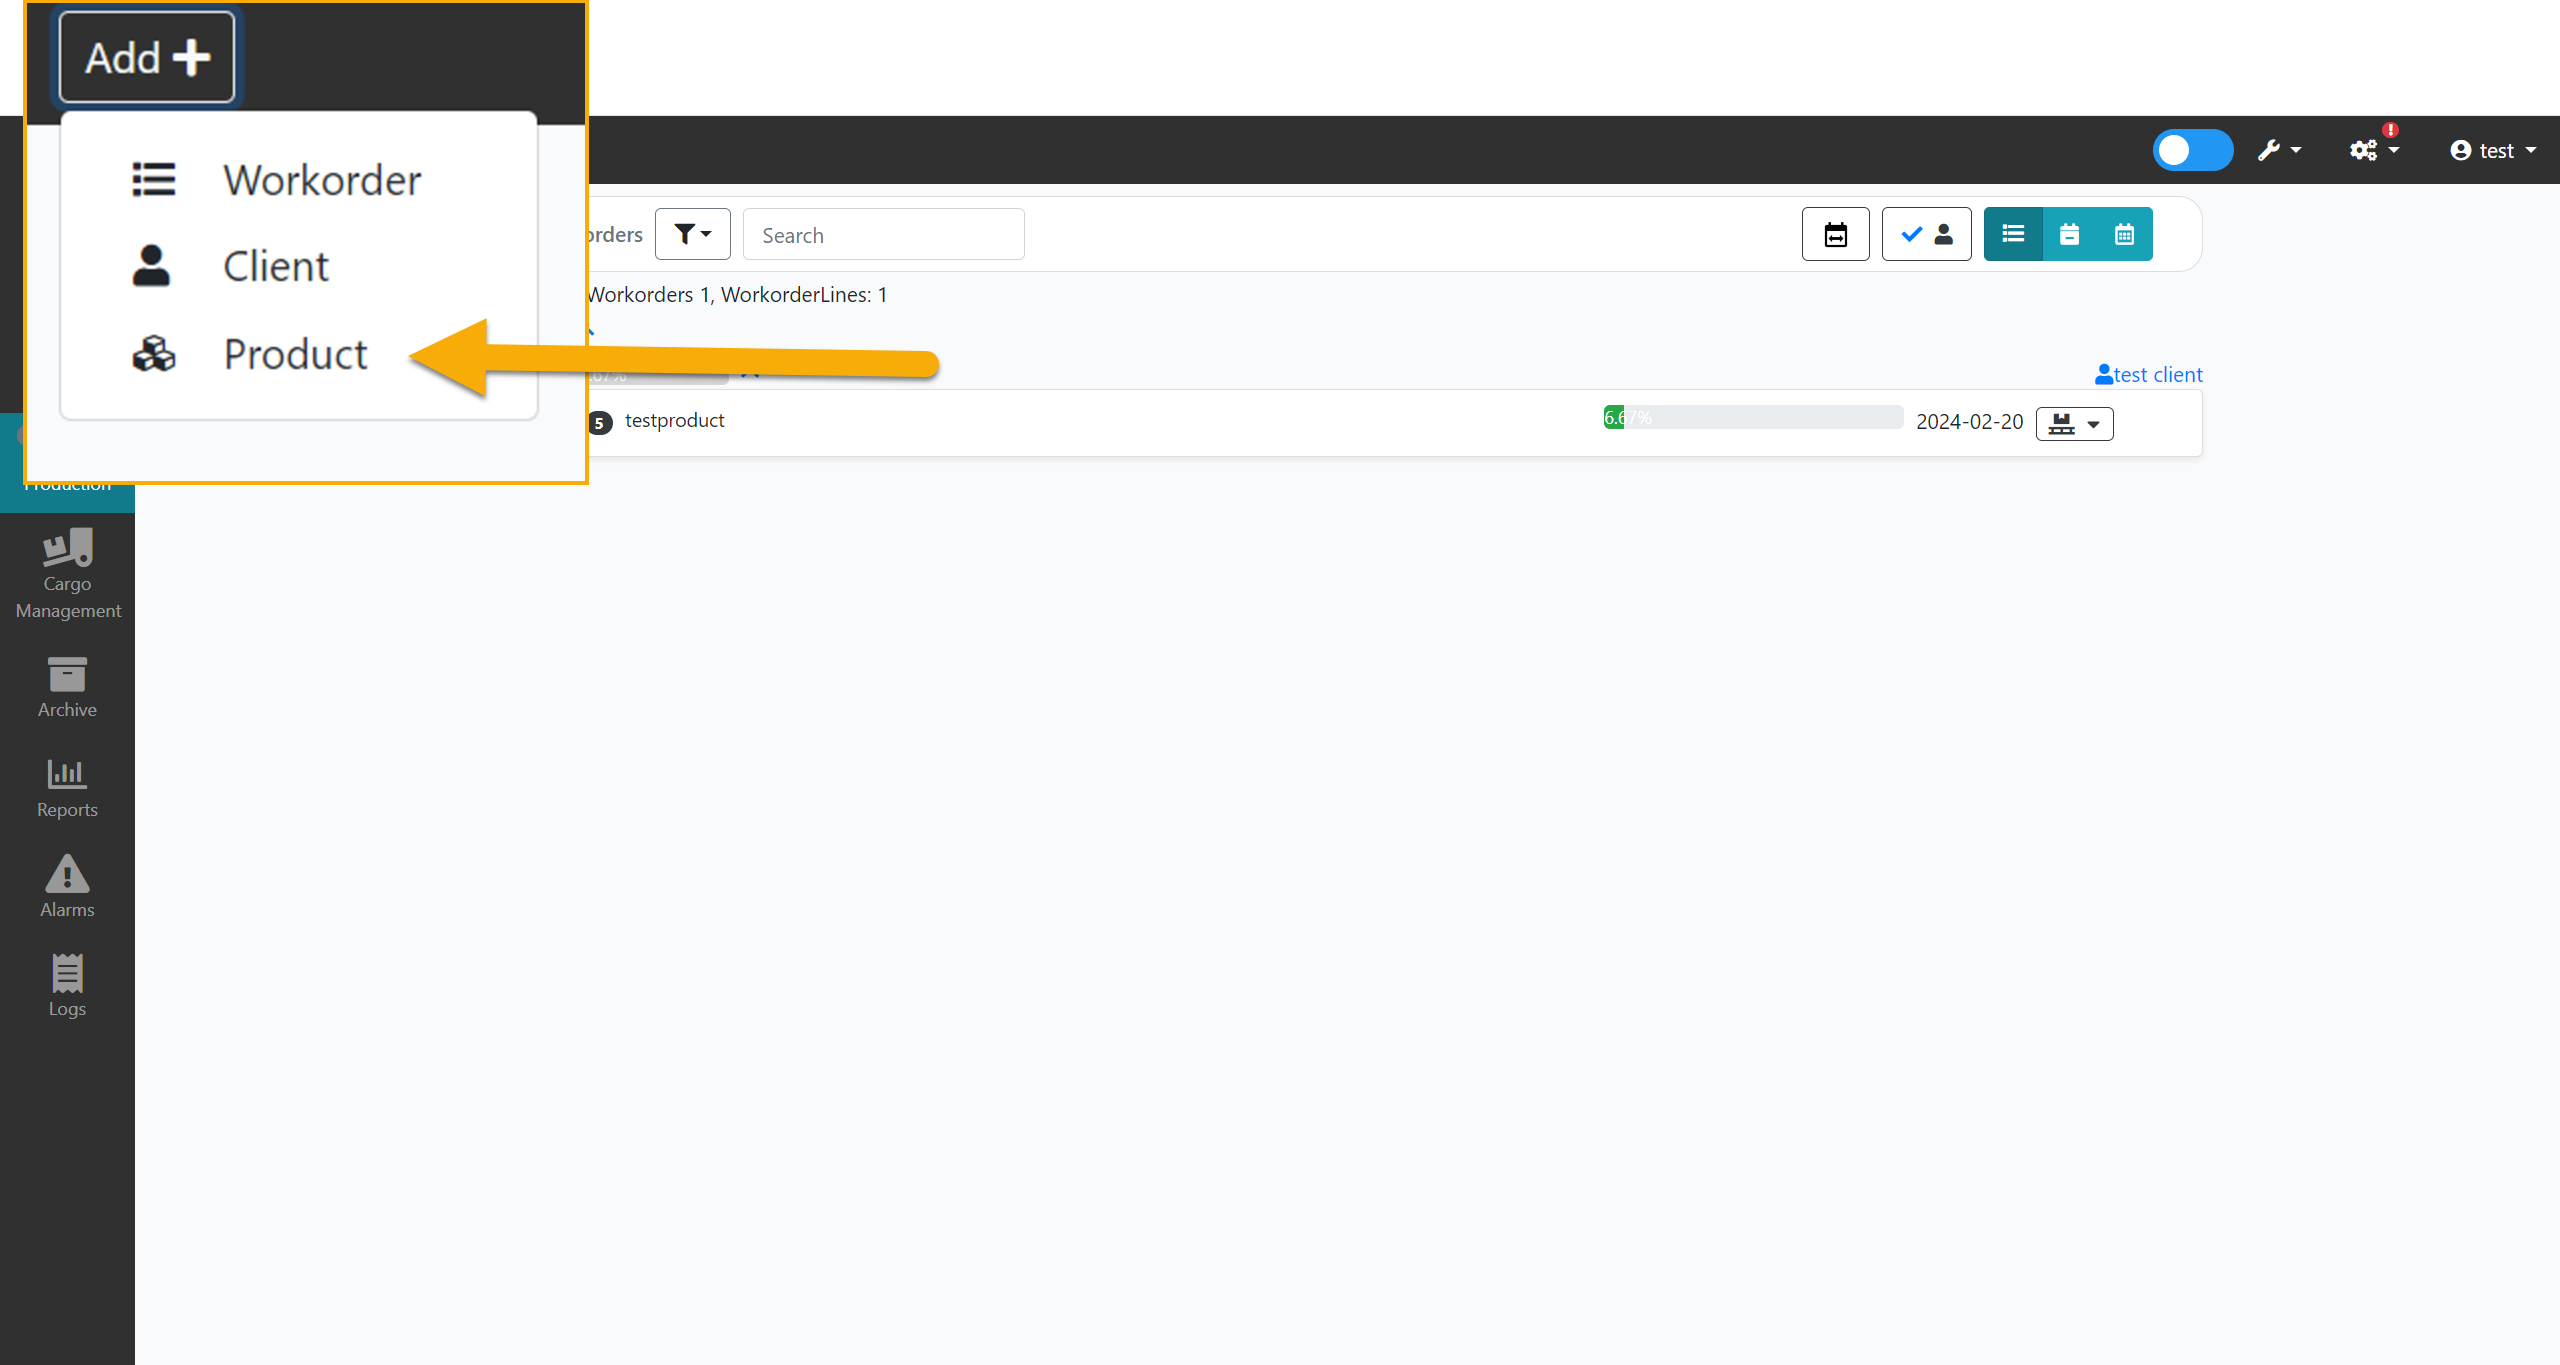
Create a Workorder
Head to the top left corner of your screen and click
+Add→ Workorder.
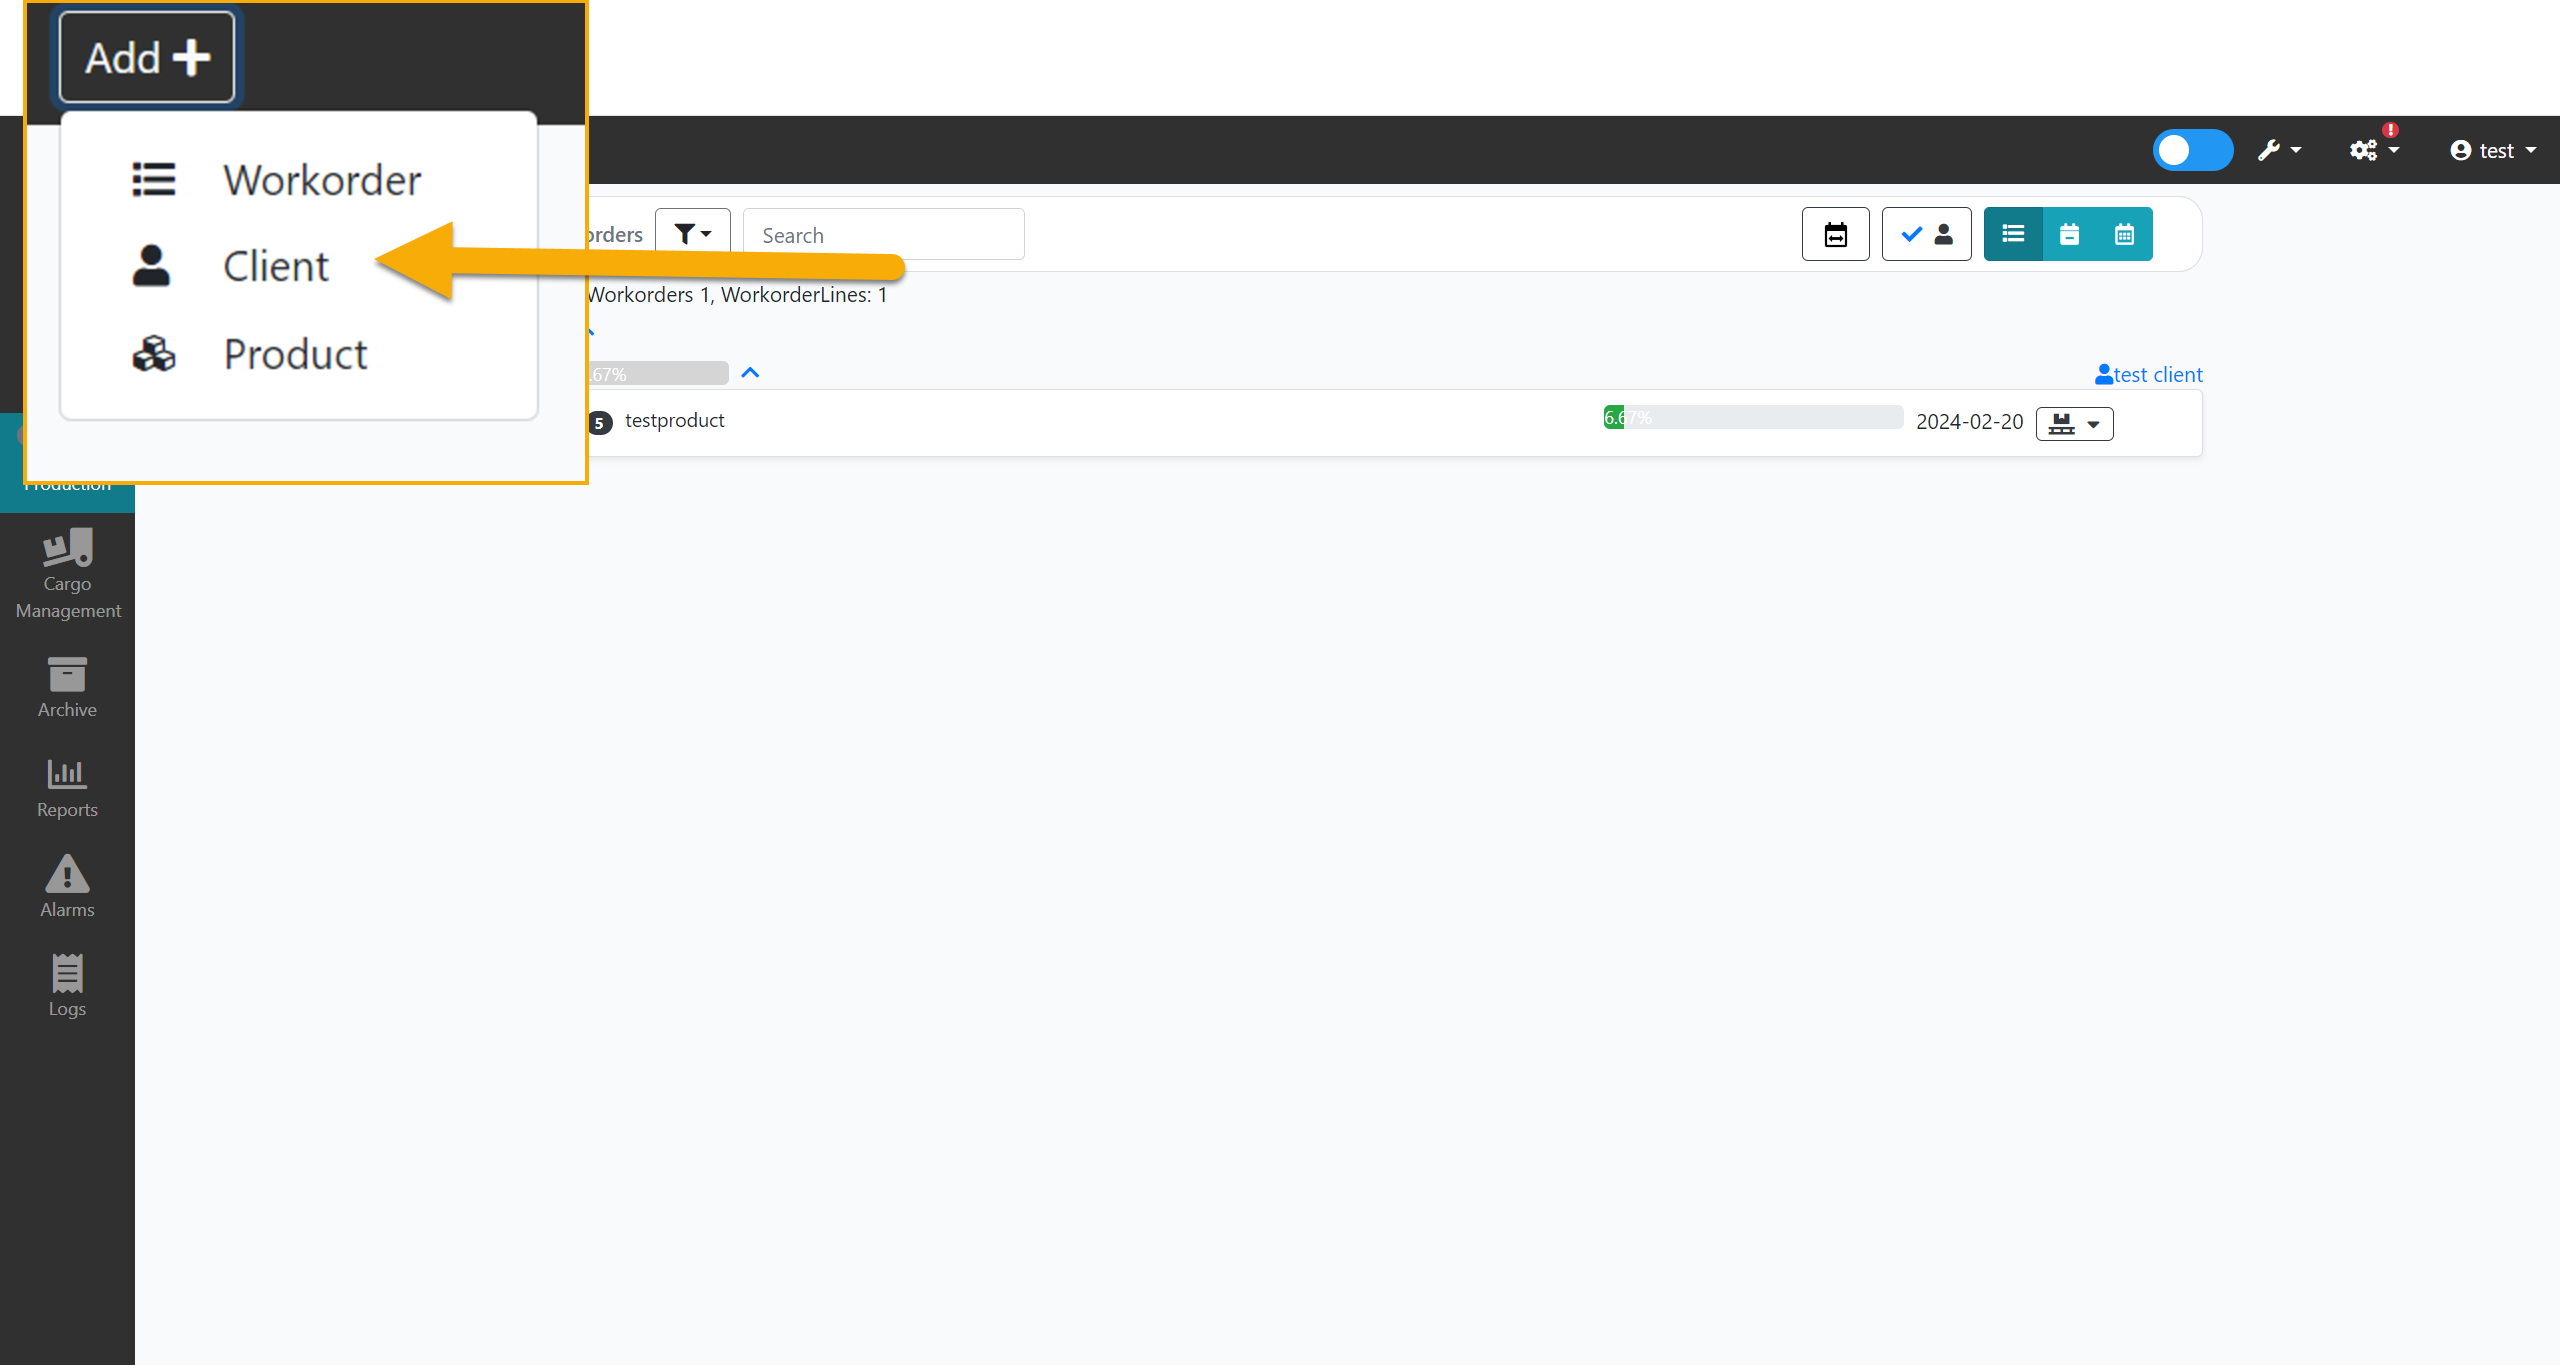
Create a client & Select a target day , press the + icon to create a workorder line.
Create & Add a new product, select the Workflow you have created in the last step and save.
You have successfully created a Workorder with a Workorderline.
Test like an Operator
We need to set up Production Terminals.
Terminals are assigned to workstations. Could be tablets, smartphones, or existing PCs (Via browser), that are placed inside your production.
Registering terminals is very simple.
Head to the Play Store or App Store and download our app "Epoptia MES
Note that it is important to click agree to all the pop-ups, then you can start filling in your info and get started(this only applies to smartphones & tablets)
Open our App, Click on Operator Screen & confirm teminal set.
Then, go to Settings (top right) →Workstations → Terminal tab.
There you can accept registration requests that appear from terminals and assign them to workstations.
You have successfully set up a terminal.
Now you have to create and assign an operator to this terminal in order to see all the available tasks, for this specific workstation.
Head to your terminal and check out what your operator will be seeing.
Let’s explore an alternative way you can create & edit a product and a client.
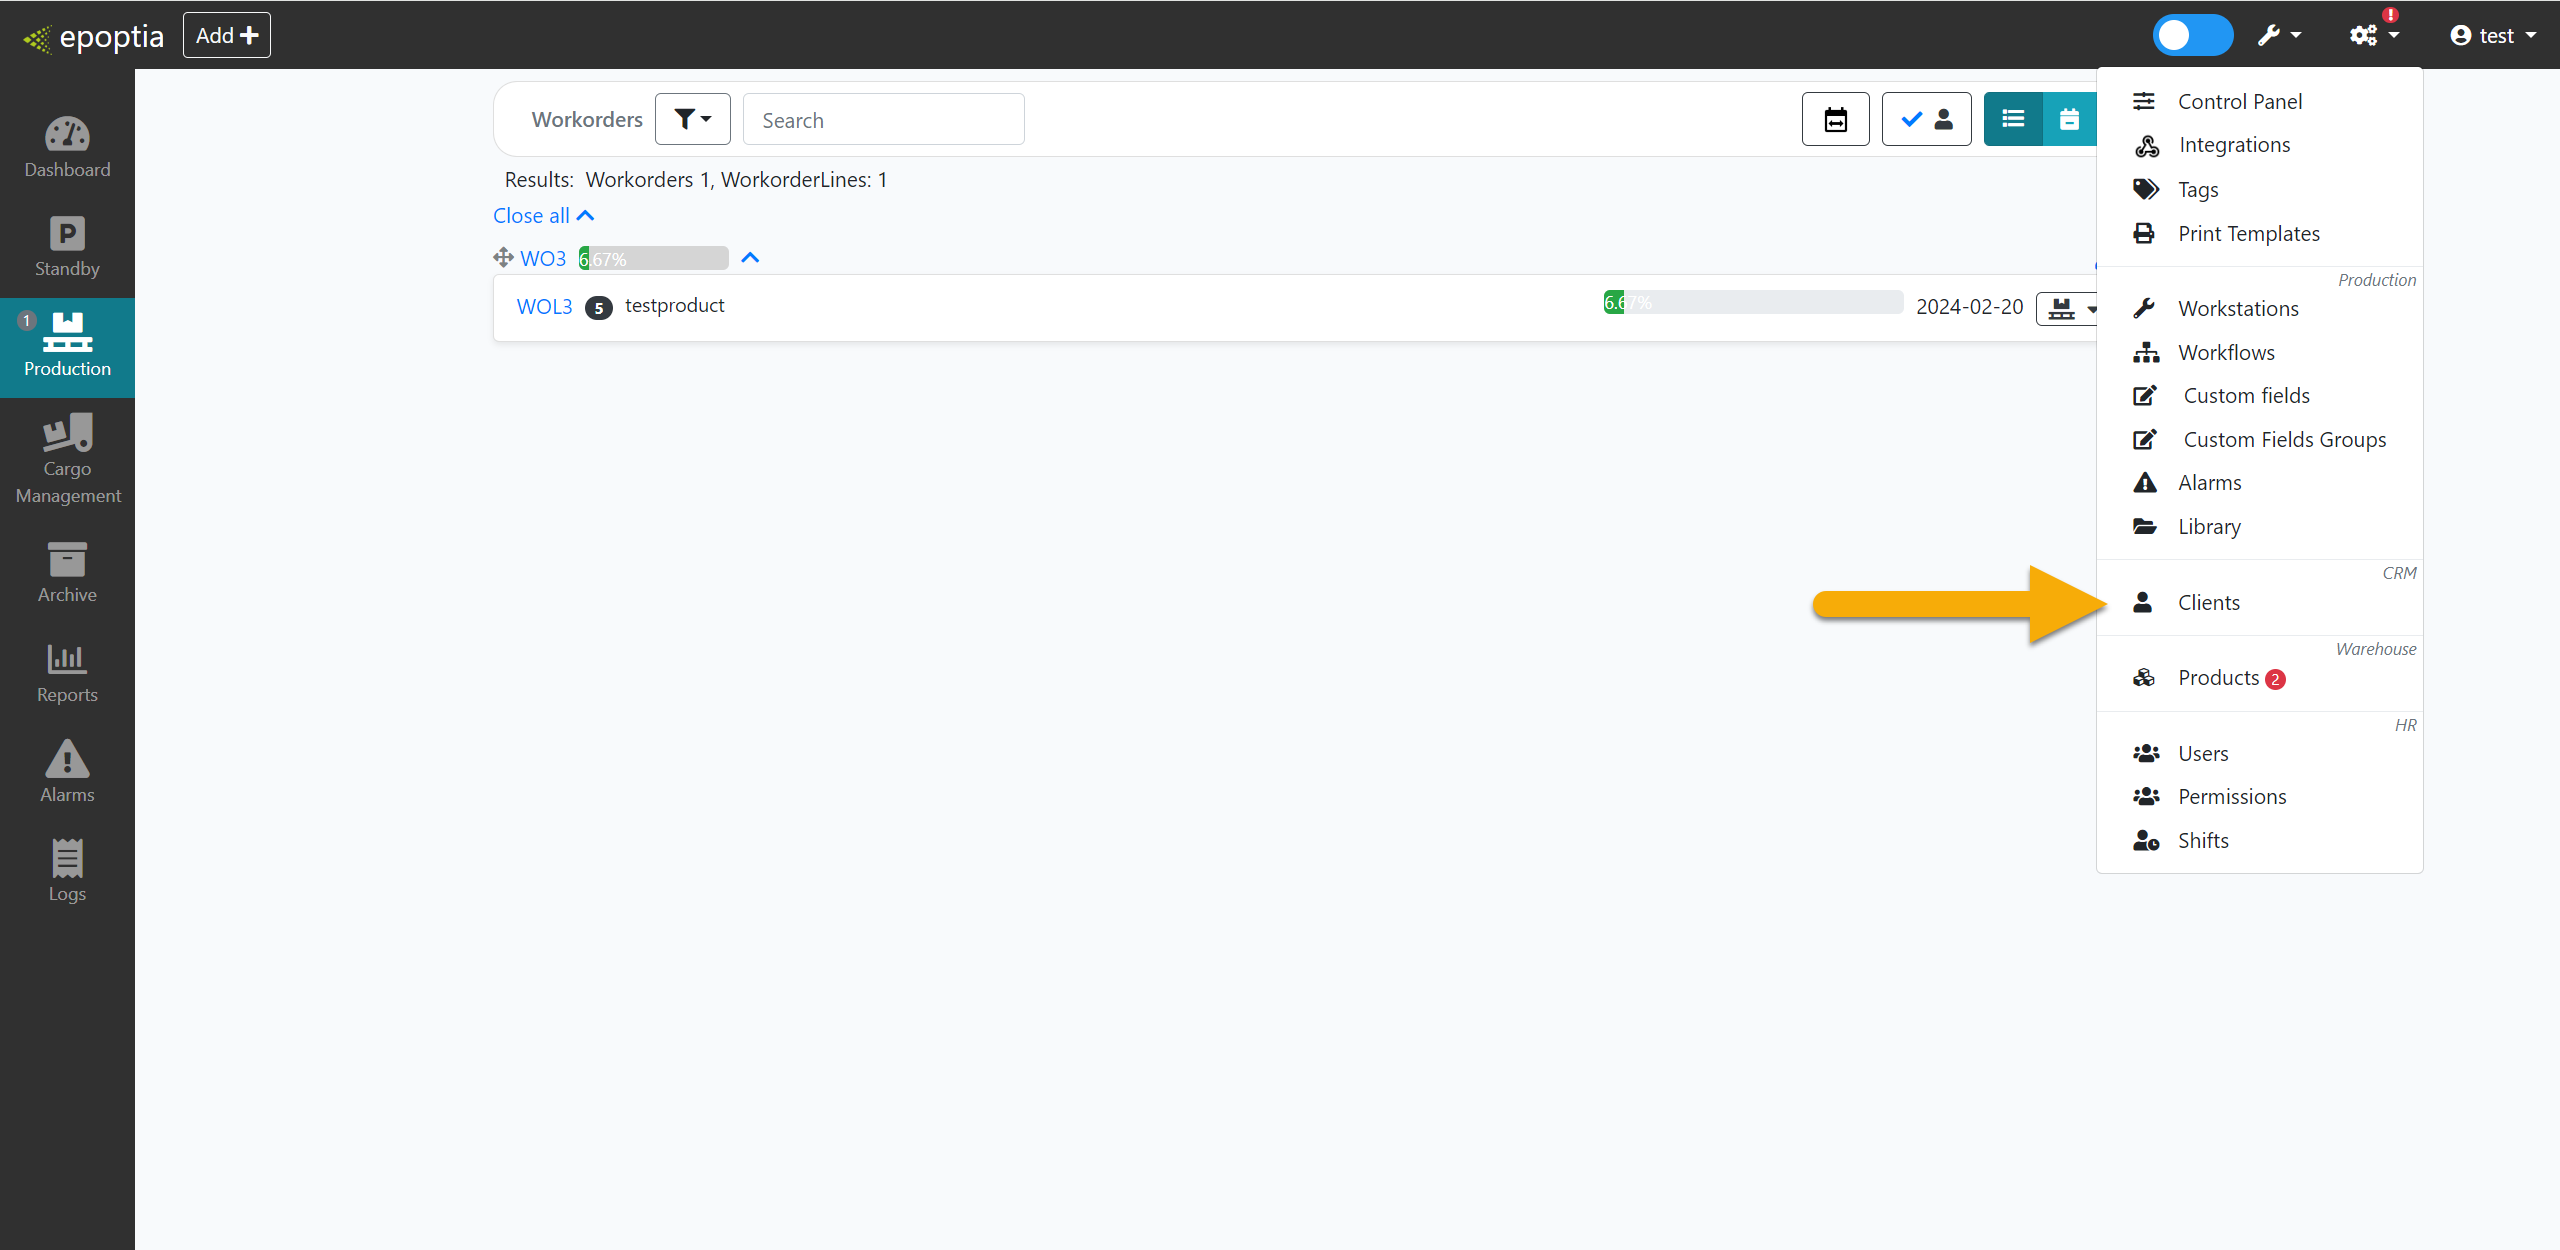
Adding Products: On the top left of your screen press the Add+ → Product.
In case you want to customize an already existing product go to Settings(top right) → Products

Adding Clients: On the top left of your screen press the Add+ → Client.
Production Screens
This is the Production tab where all your current Workorders exist .
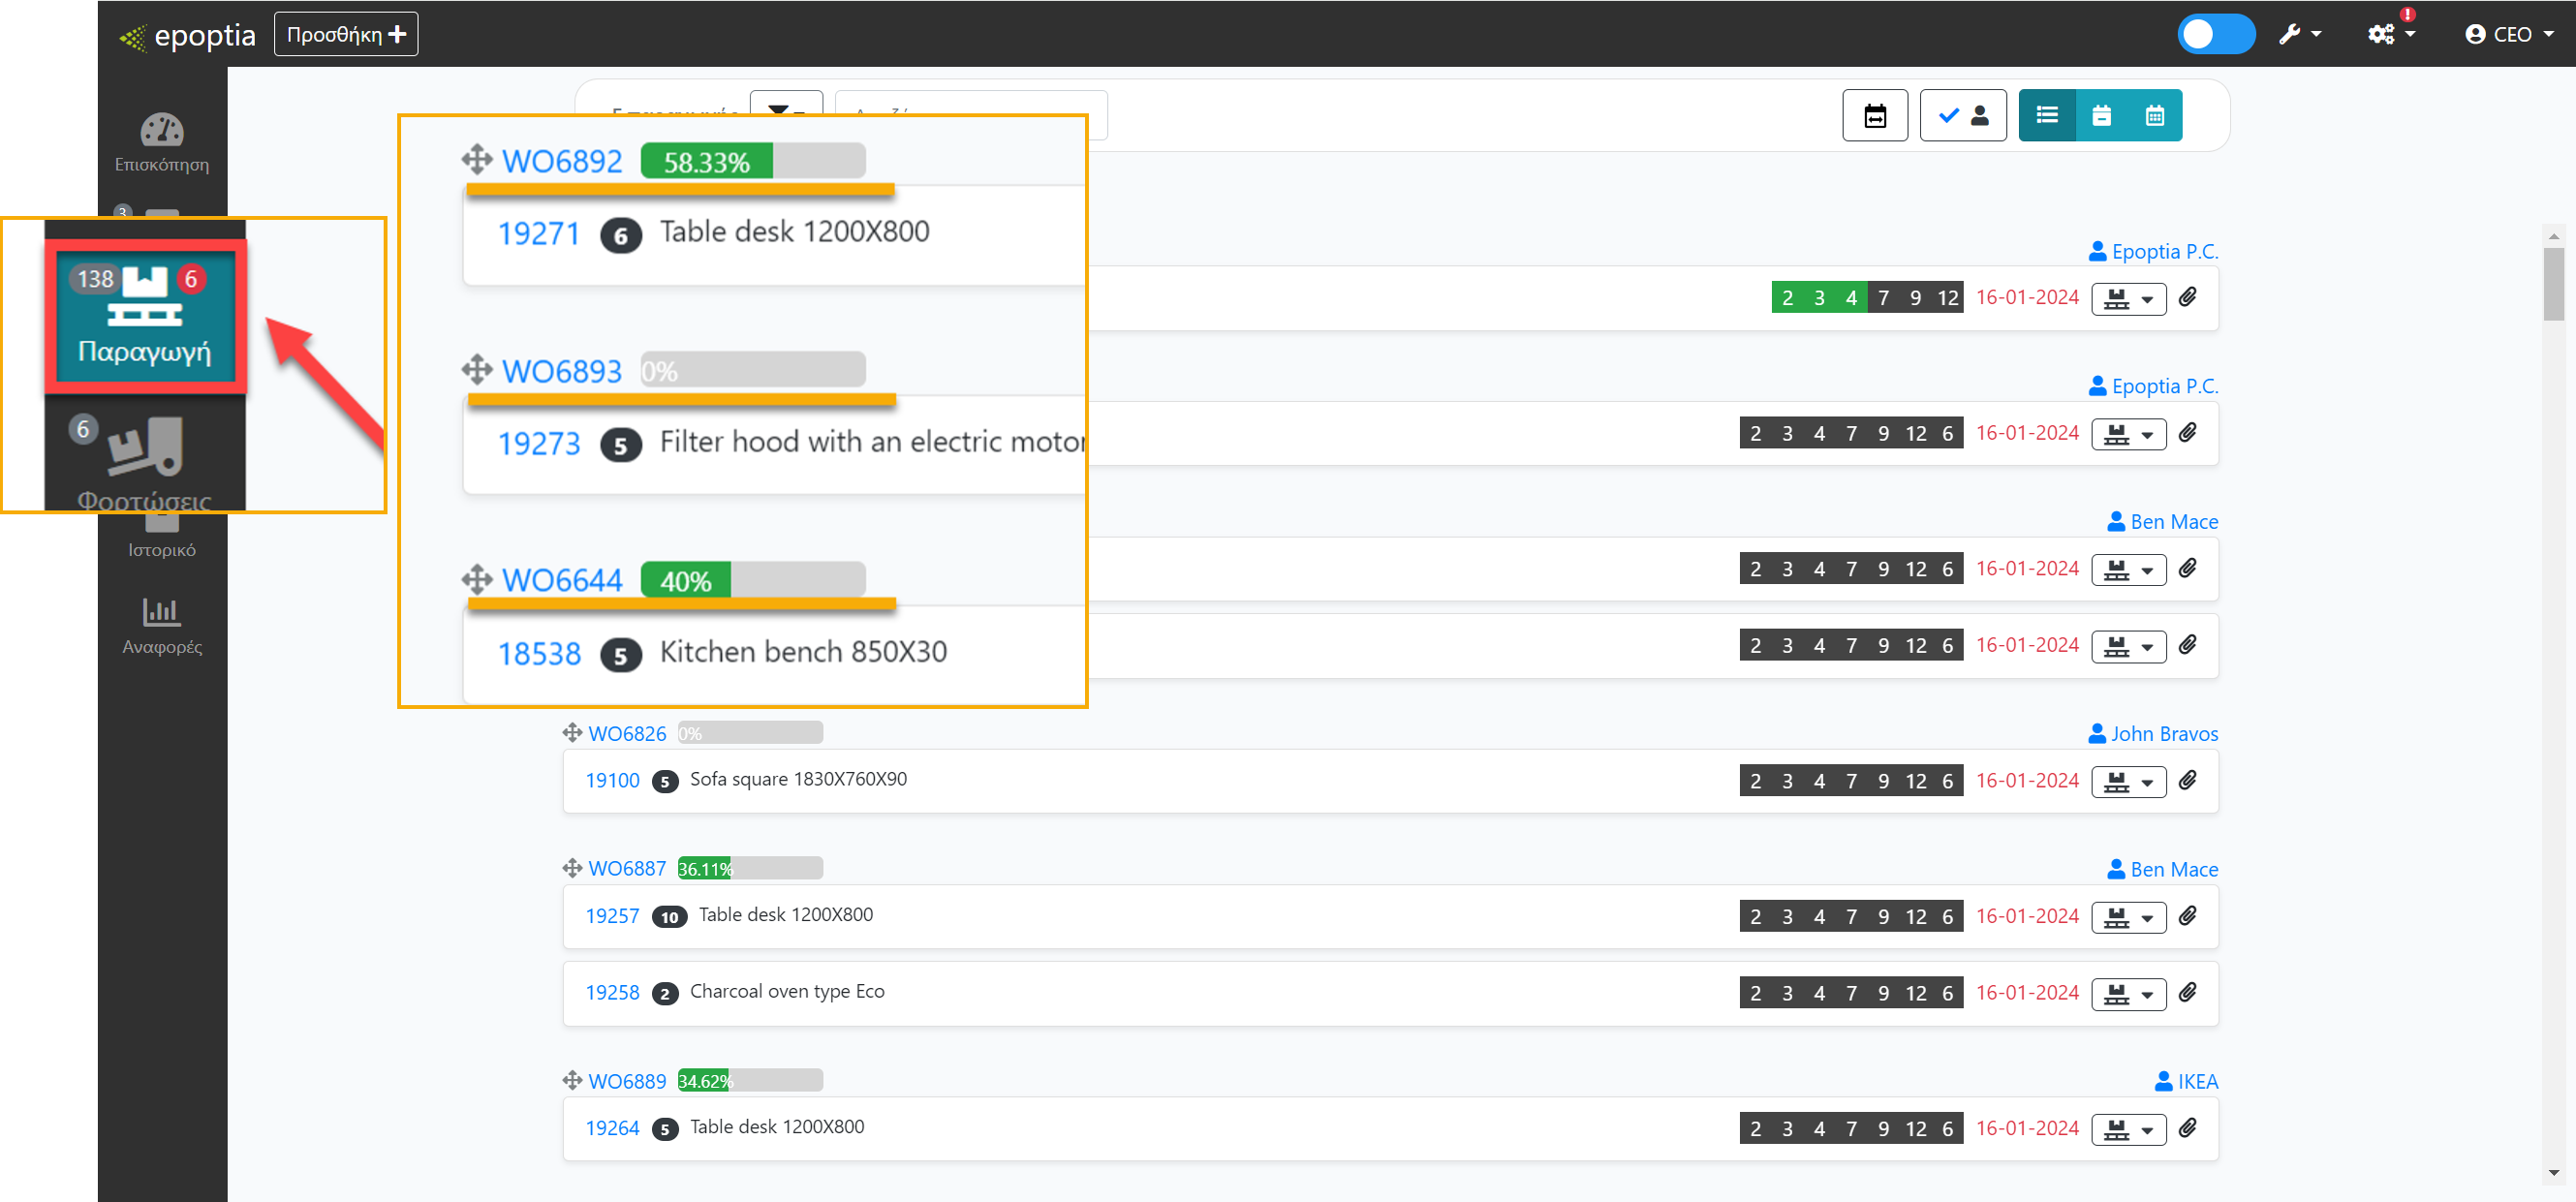
Let’s take a closer look at Workorders


By clicking on the Workorder line (or for short WOL) number you will be able to see the details.
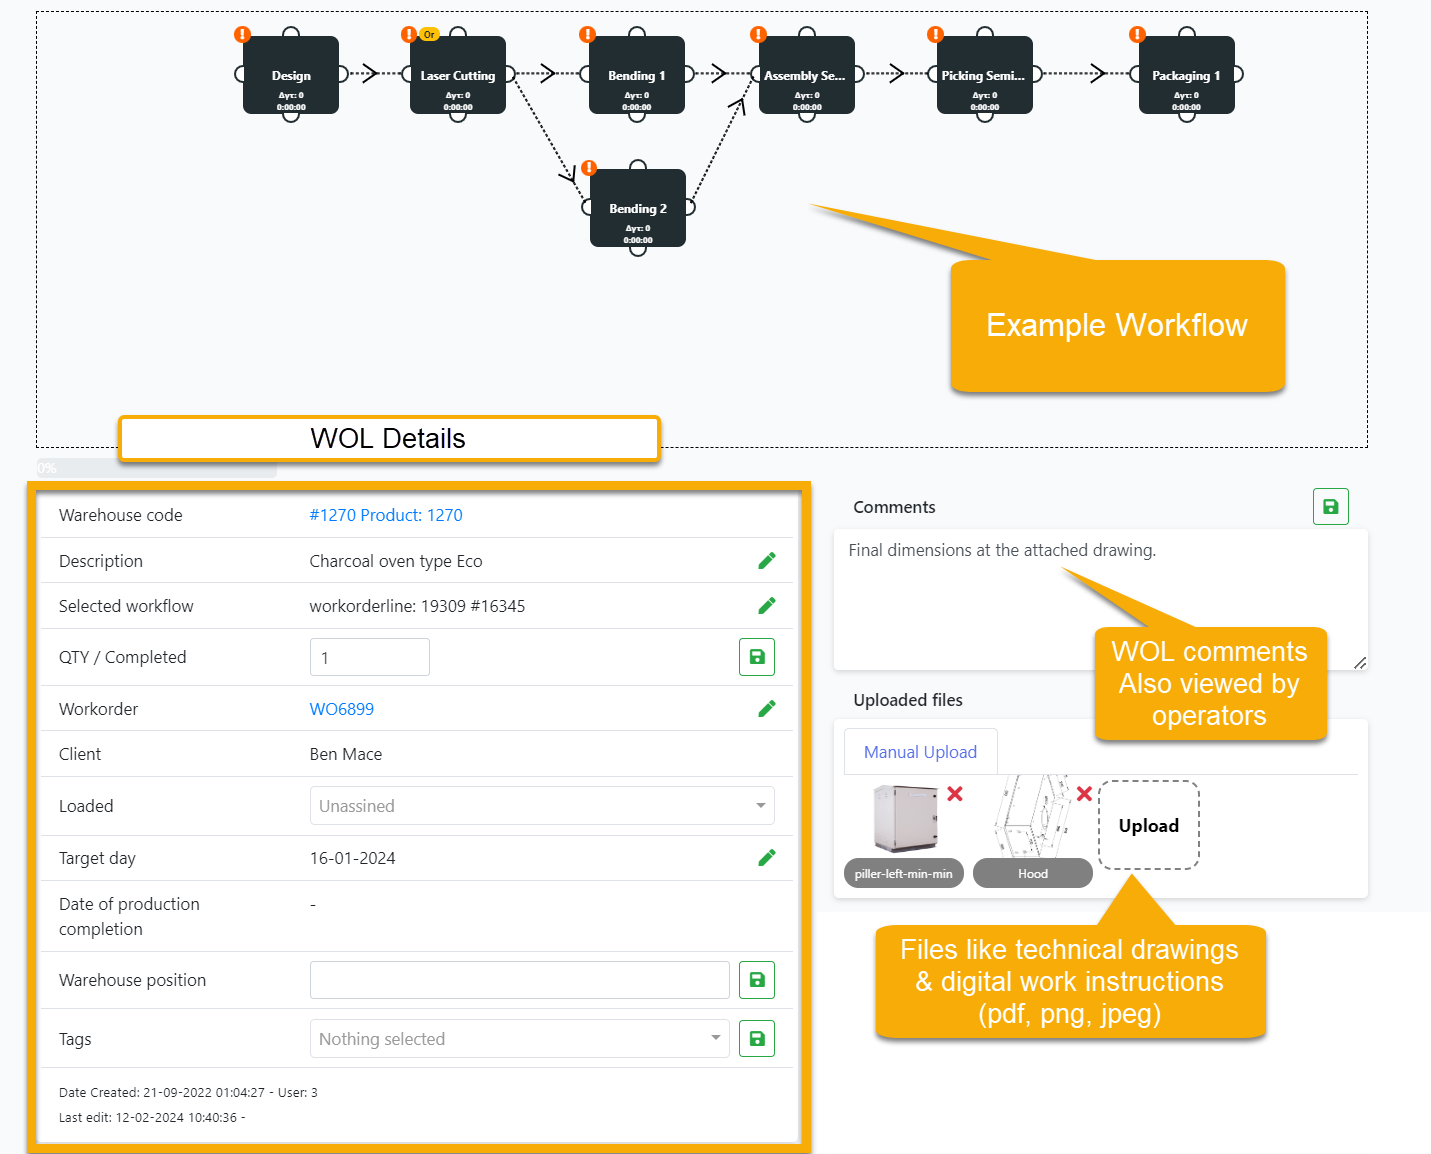
Workflows (or more commonly known as routings) are the visual representation of the different stations (Workstations) that your manufacturing process consists of.
Workflows are the key to applying the logic of your manufacturing process our software.
You can put them together by easily dragging & dropping.
At the same time your operators will be able to see the workorders as tasks in their terminal